This was a project to design and print a simple and light-weight rig for mounting my stereo matched pair of Rode M5 condenser microphones in X-Y co-incident arrangement for stereo recording.
Design Goals
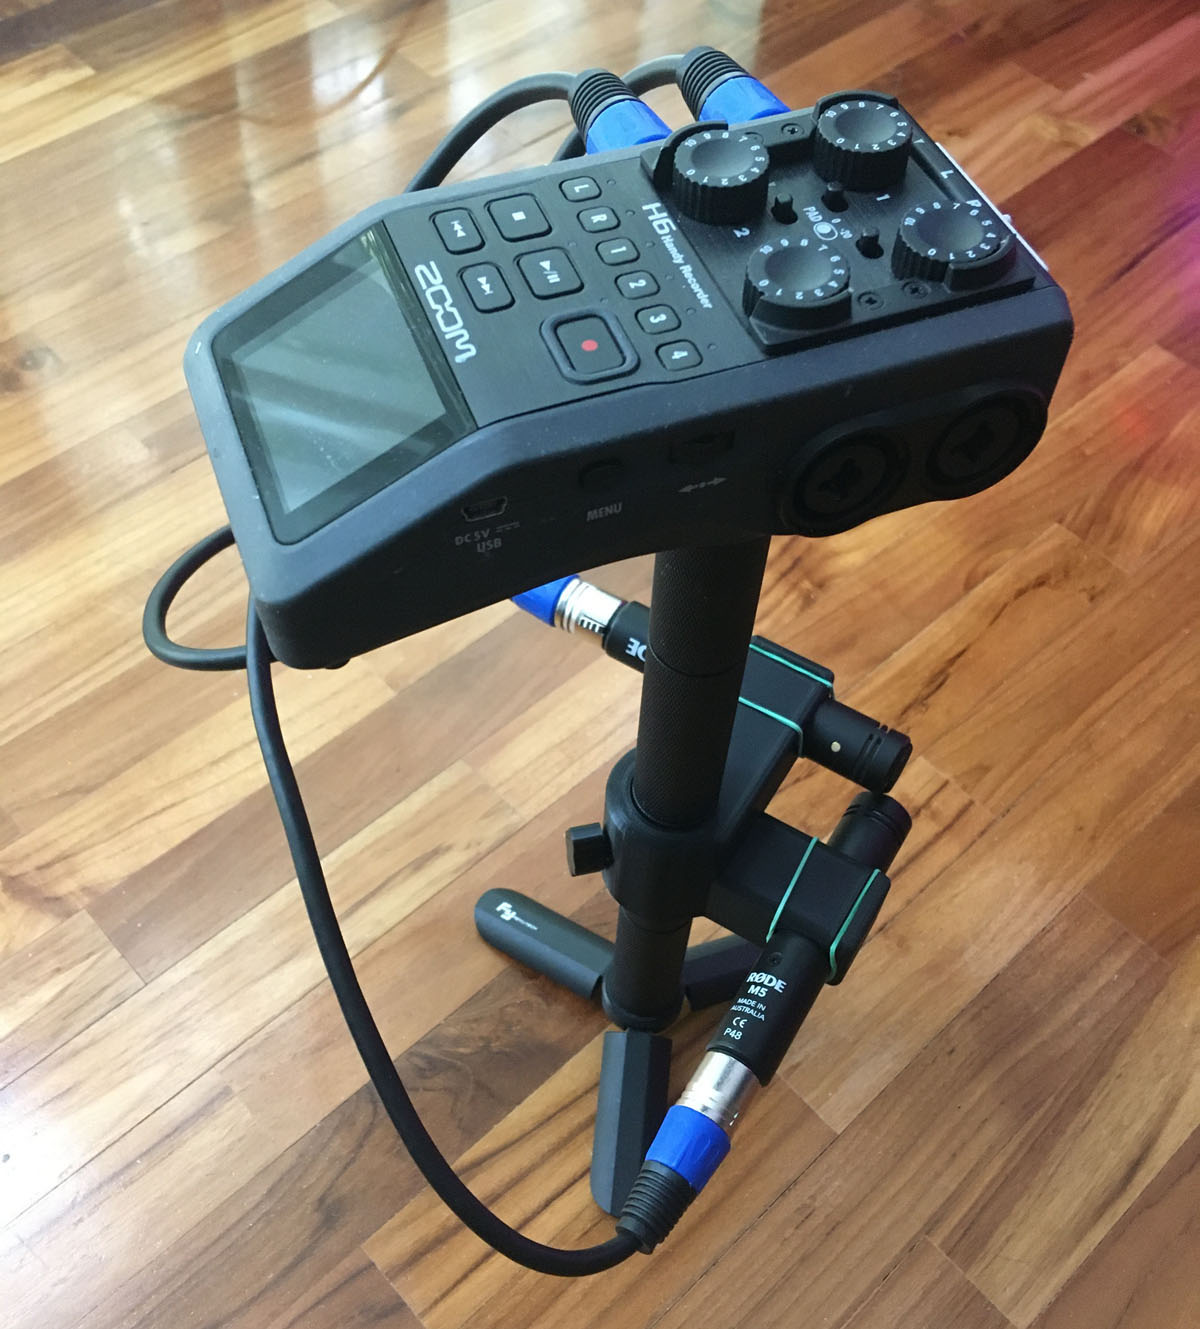
The general goal for my field recording rig is to be easy to setup and easy to handle while in use. Additionally I want a modular system which allows for either or both of my mic pairs (M5’s and / or NT1-A’s) to be mounted as required, along with my Zoom H6 recorder.
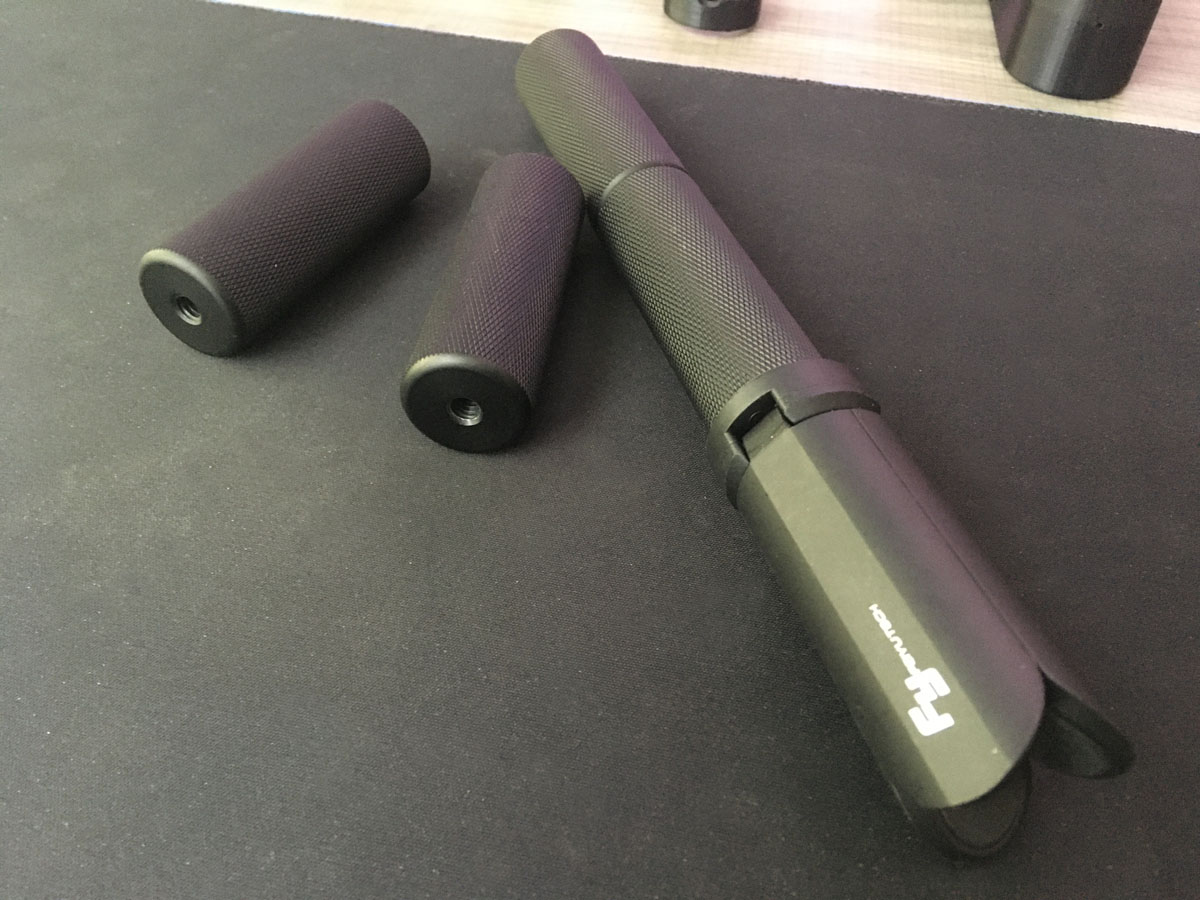
The solution that I’ve chosen to fulfill these goals is to create lightweight 3D-printed brackets that you can drop the microphones into with those brackets then being clamped to this metal shaft which is just a series of off-the-shelf camera handles plus a mini tripod stand:
The M5 mount is now complete and I’ll work on an NT1-A mount next, but first let me share the design process for the M5 mount:
Design Iterations
The first design I came up with was very light and simple consisting of sleeves for the microphones and a sleeve that would clamp to the shaft with a 3D-printed thumbscrew:
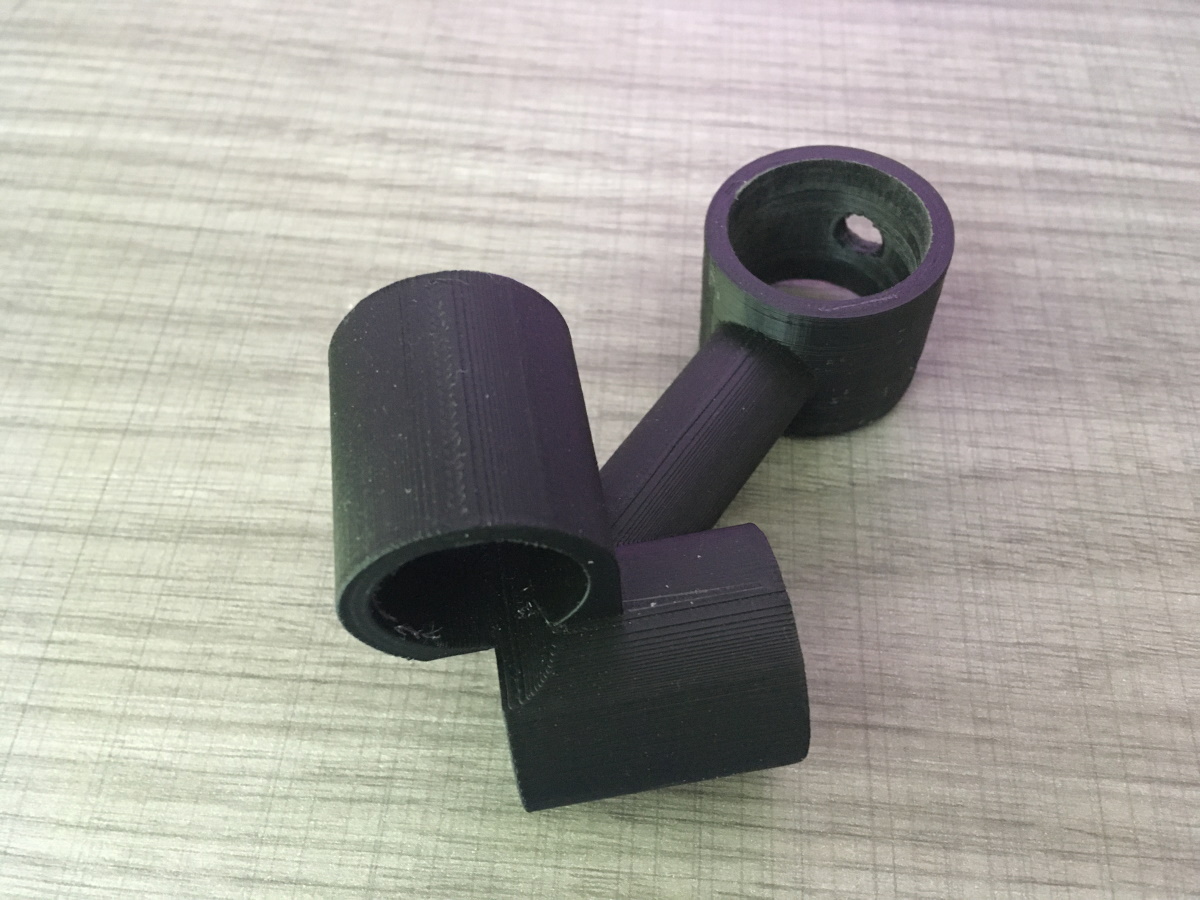
This particular print didn’t work because the holes were too small for the microphones and the shaft due to shrinkage. There was also warping that deformed the threaded hole where the thumbscrew would go.
More important than the printing issues, was the realization that the sleeves holding the microphones should not run all the way to the end of the microphones as this could interfere with the microphone’s pick-up. So for the second design iteration I pulled the microphone sleeves back to allow free-air where the microphone diaphrams coincide:
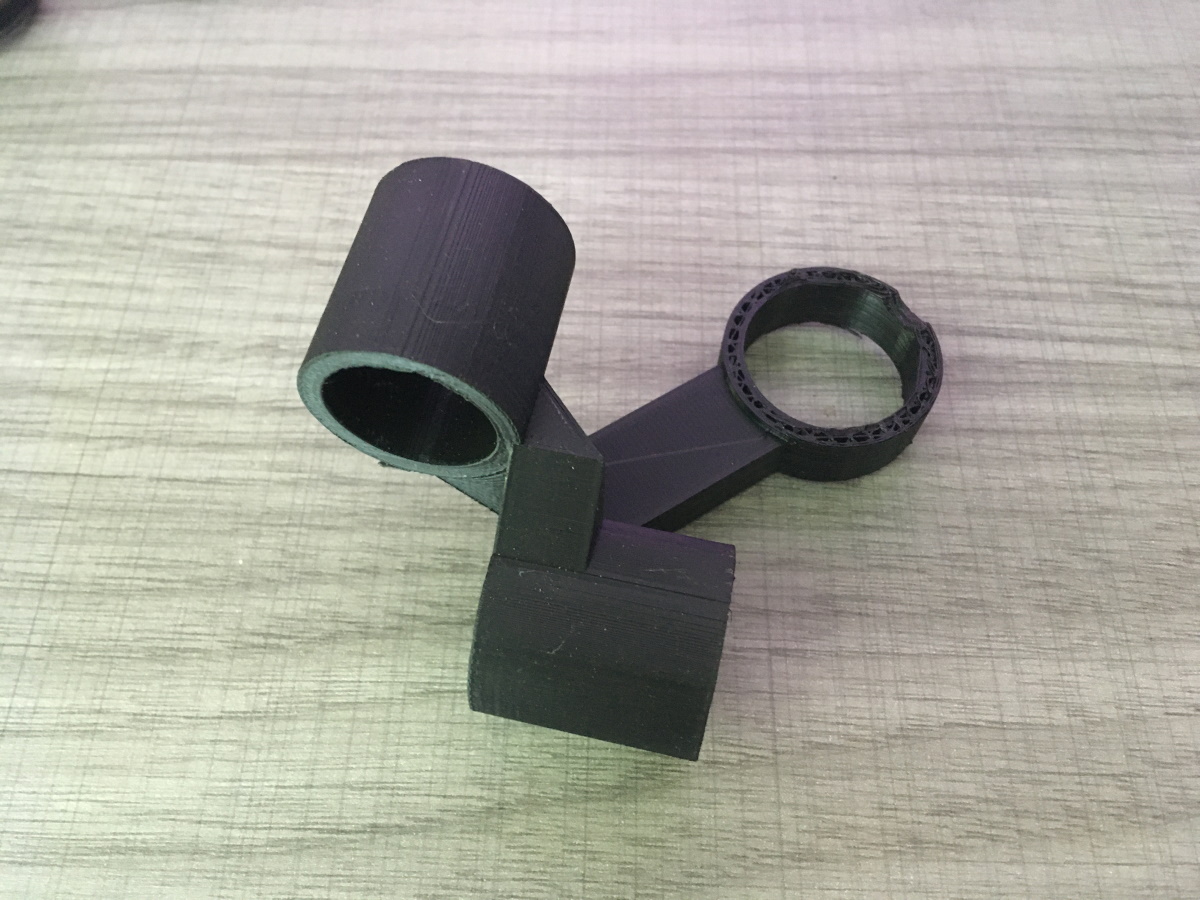
This print was pretty clean although still a bit tight on the fit. The big problem was the tolerances around the threaded hole - this was a major weak point and when I attempted to screw in the printed thumbscrew the shaft sleeve delaminated and split apart, as is visible in the above photo.
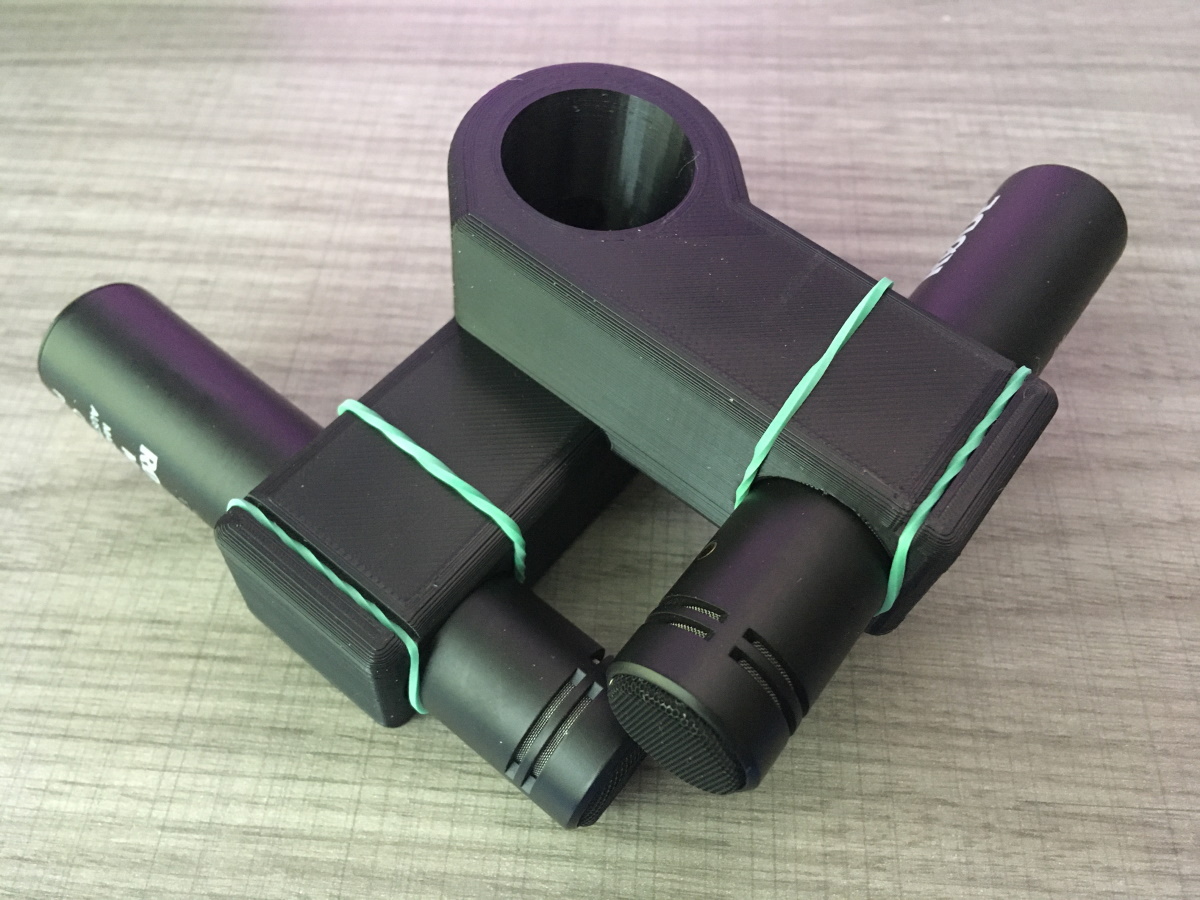
For the third iteration I started from scratch. I decided to stop optimizing for minimalism and instead add more meat to the body for strength. I also decided to replace the 3D-printed thumbscrew with a M4 metal screw that would thread into a captive nut embedded on the inside of the shaft sleeve. This print came out great and the design is very strong and the tolerances around the sleeves was just right meaning the microphones would slip in easily and be held in place with rubber bands:
The hex cutout for the captive nut printed a little tight but actually this would be fine because I could heat the nut with my soldering iron to press it in similar to the way you’d install a threaded insert. I undersized the screw hole but again this would be recoverable because I could easily gently drill it out.
In the end I didn’t proceed with those finishing steps though because the design has a fatal flaw - I made the arm way too long. This cantilevers the microphones out too far and makes the rig prone to tipping over.
Taking the learnings from the first three iterations I made the following changes to come up with the fourth and final iteration:
- Reduced the arm length down from 80mm to just 10mm
- Cut out excess material above / below the microphone mount points to reduce material consumed and the final weight
- Switched from the M4 metal hardware for clamping back to a 3D printed M10 screw
- Added small slots to capture the rubber bands that secure the microphones in place
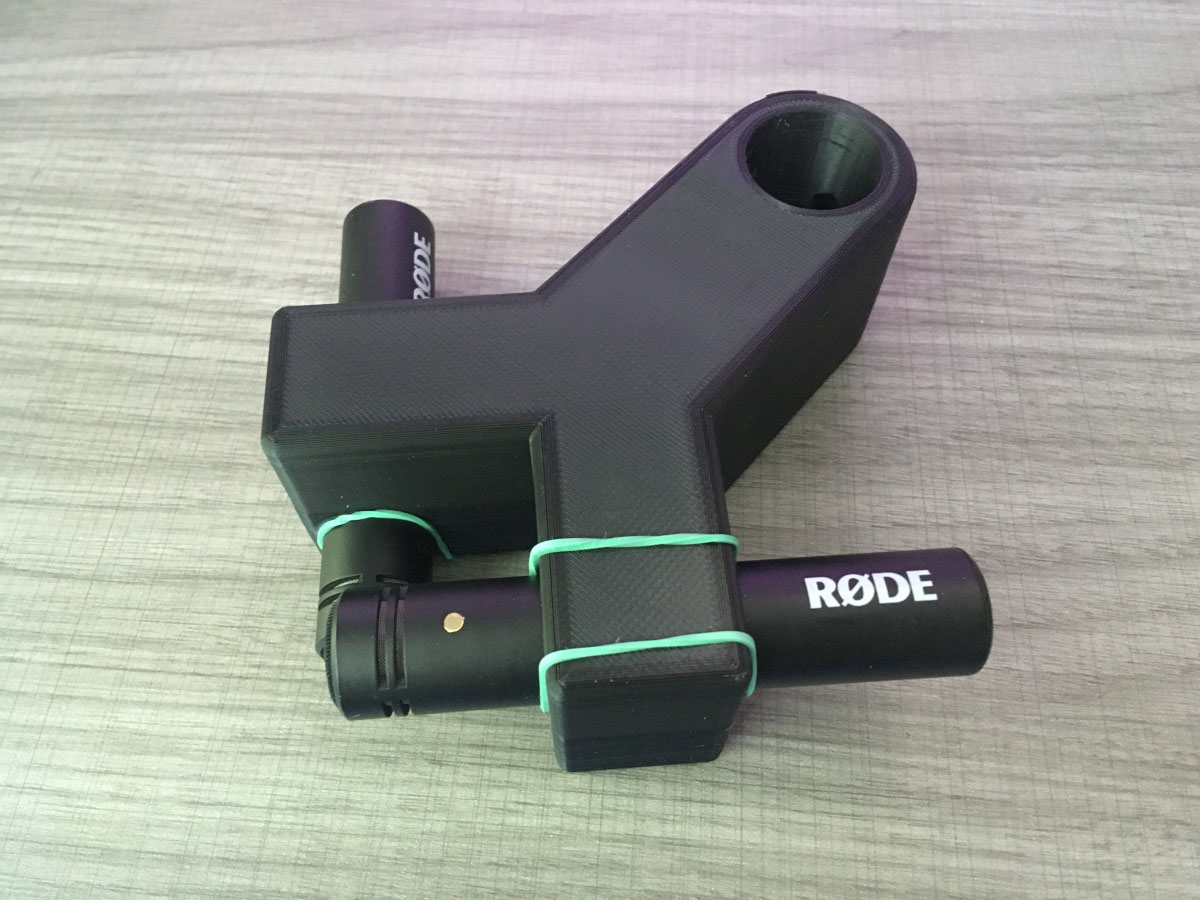
This design came out great!
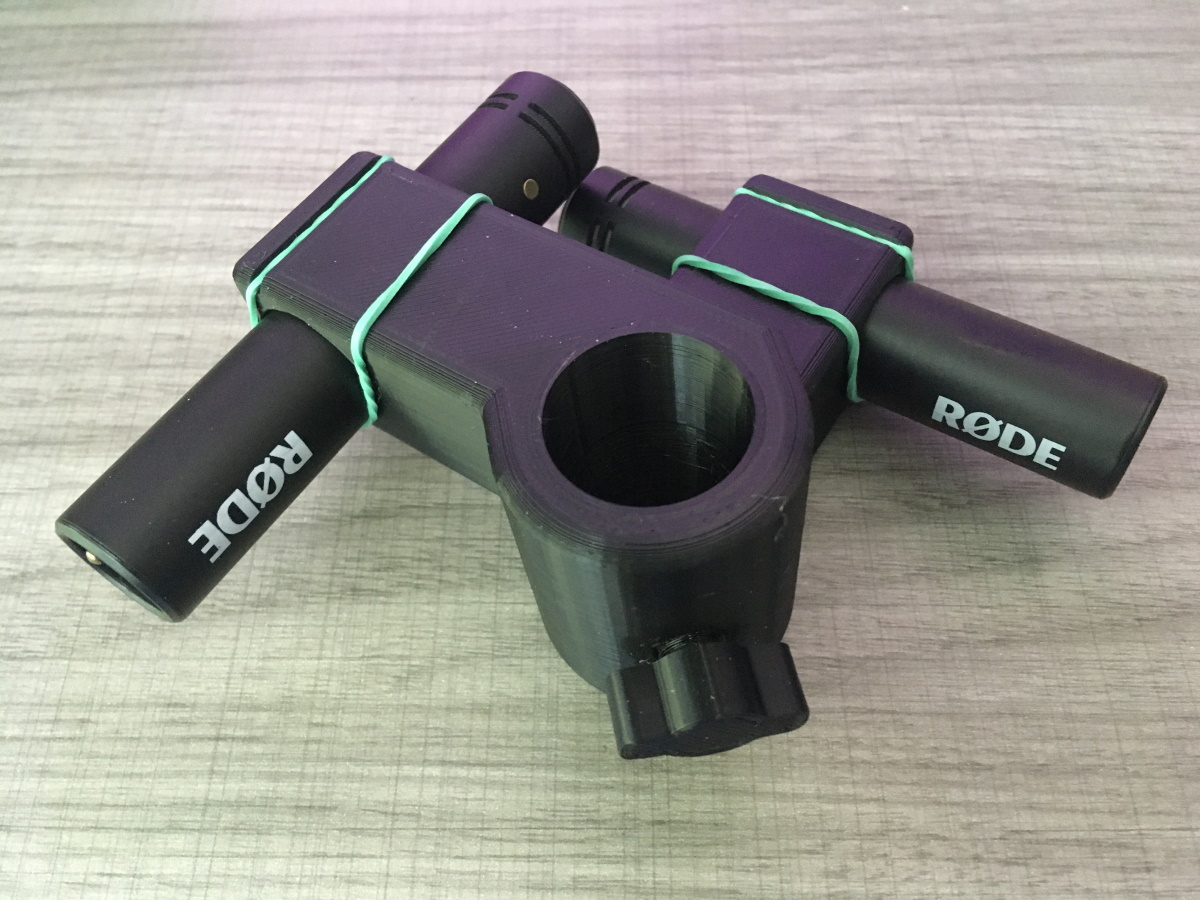
The print was very clean, tolerances around the sleeve holes were great even though I actually tightened them up a tiny bit and the slots to capture the rubber bands work well.
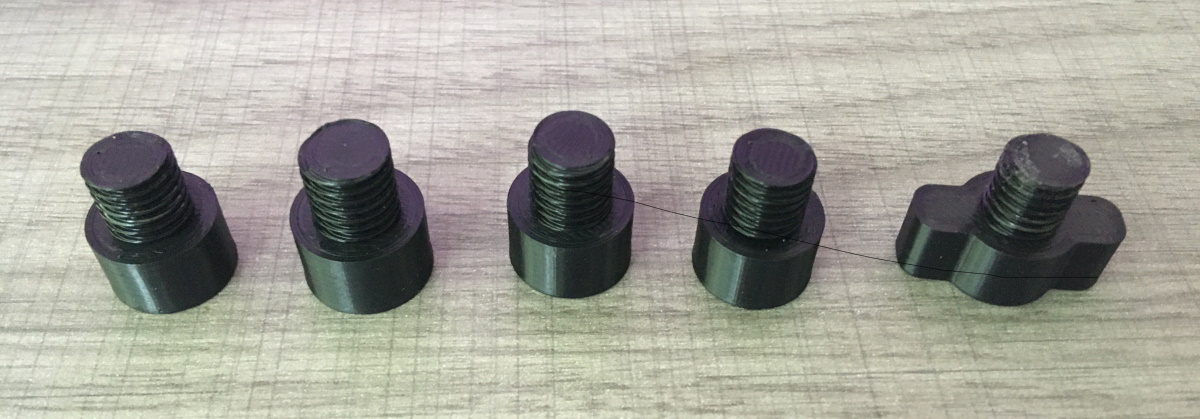
The only problem I had was the 3D printed screw - the print was clean but the tolerances were too tight and it would only screw in about 1/16th of a turn before seizing up. This was a concern given the splitting that happened on the second design - the goal is to have force in the direction of the screw pushing between the faces of the thread, not laterally outwards. I scaled down the model in Cura in two percent increments and ended up printing it at 92%. Before printing what turned out to be the last version I also added wings to the thumbscrew to make it easier to work with:
Conclusion
This M5 mount has turned out great - it’s lightweight and mechanically very simple, yet feels solid and durable. I’m looking forward to doing some recording with it soon and even more looking forward to creating a mounting bracket for the NT1-A’s.
One final touch for this will be to devise a wind screen mechanism since the sponges that come with the microphones cannot fit when they are arranged close together like this.