A while back I had a small under desk Ikea drawer unit with a drawer for Ikea Summera drop files. This was great for a while but eventually the drawer filled up and I decided the drawer unit took up too much floor space, so I moved the files to a plastic tub and sold the drawers on CraigsList.
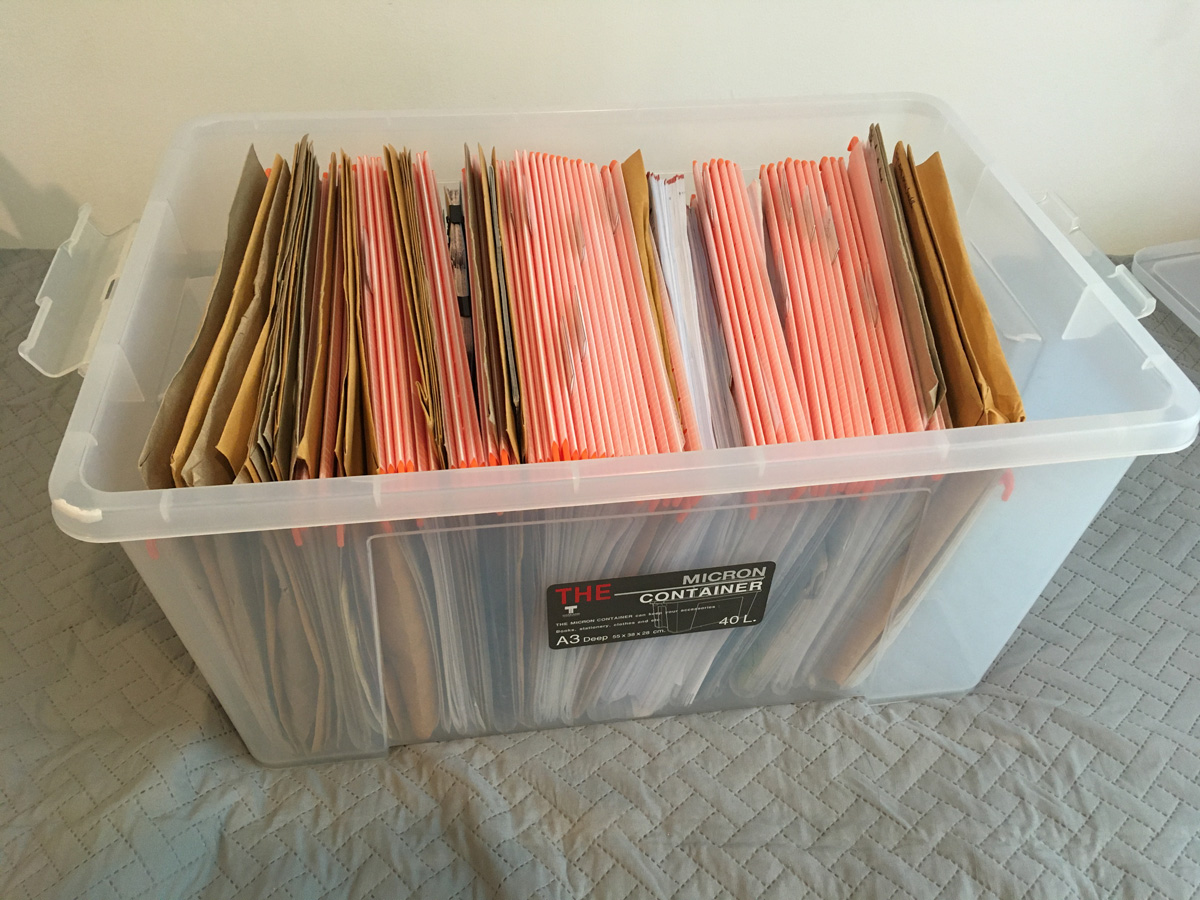
This was an improvement in that the box held more files and could be stored in a cupboard of the way - however accessing the files was kind of a problem because they were just jammed in together so it was hard to flick through them, and if you took too many files out at once the remaining ones would start to slide around in the container.
Recently I had the idea to 3D print some rails to hang the files inside the box - and it worked out better than I expected.
Here’s a brief rundown of the project.
Container
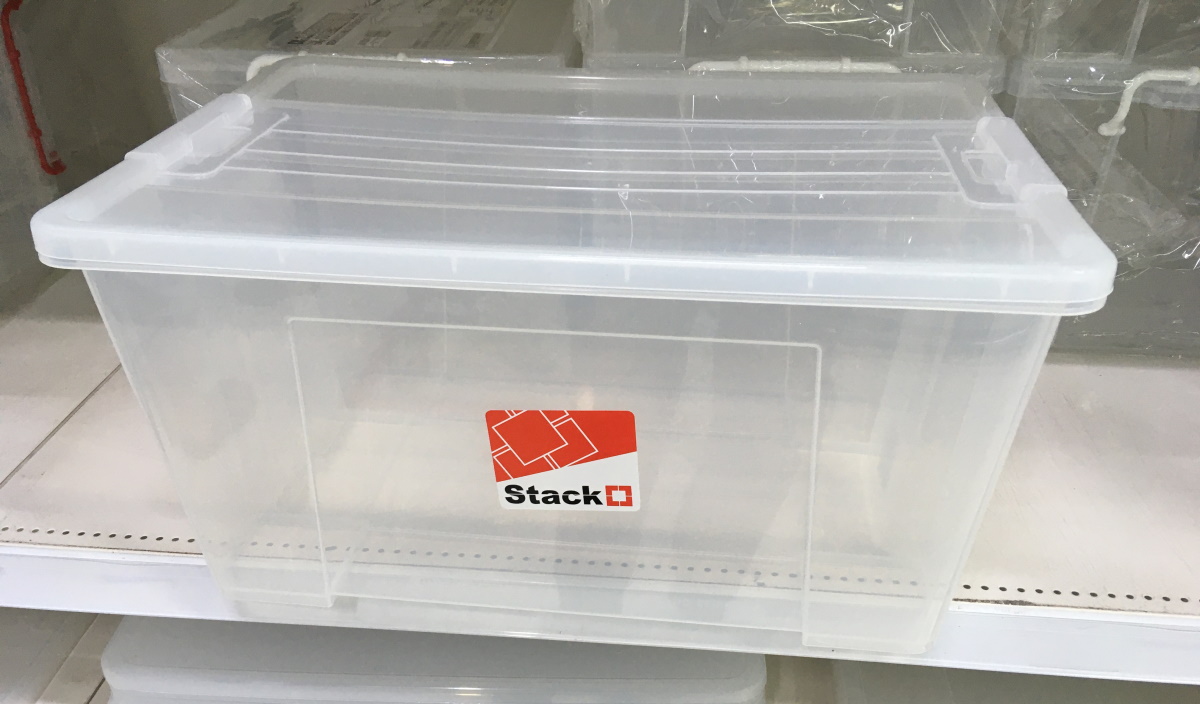
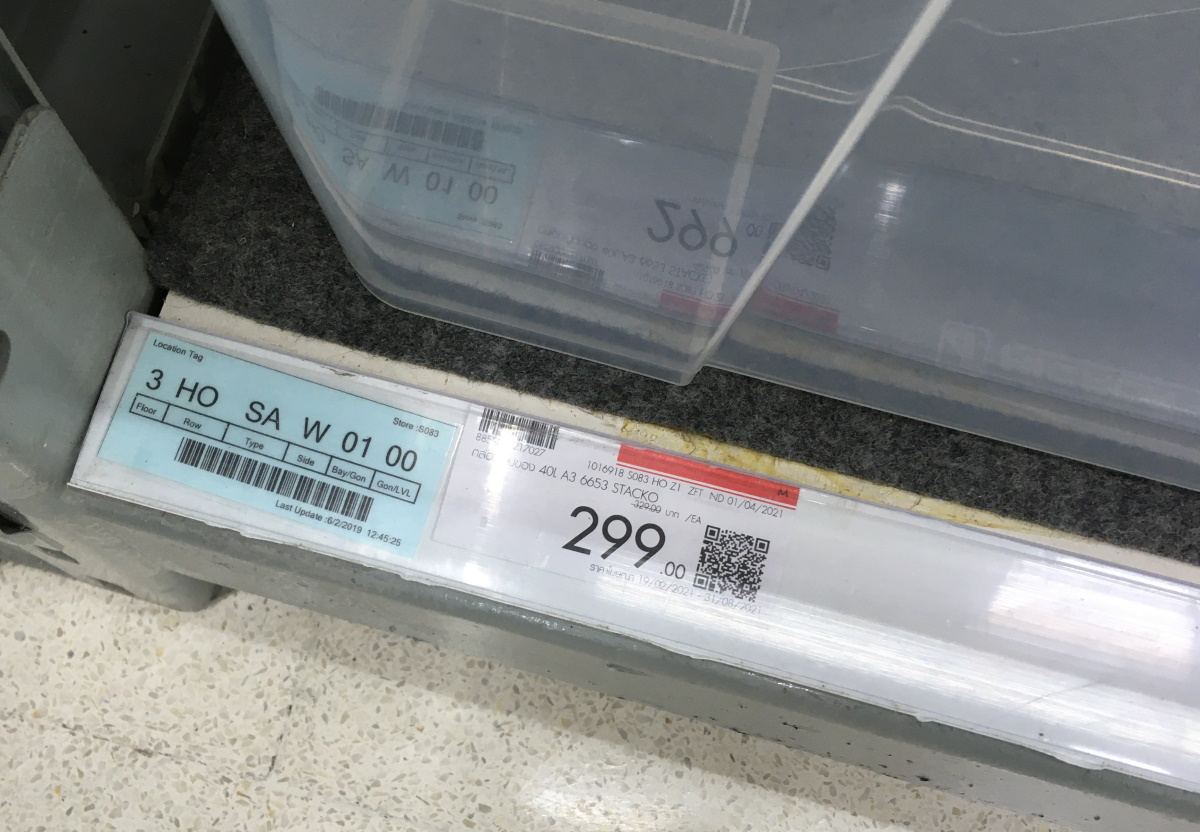
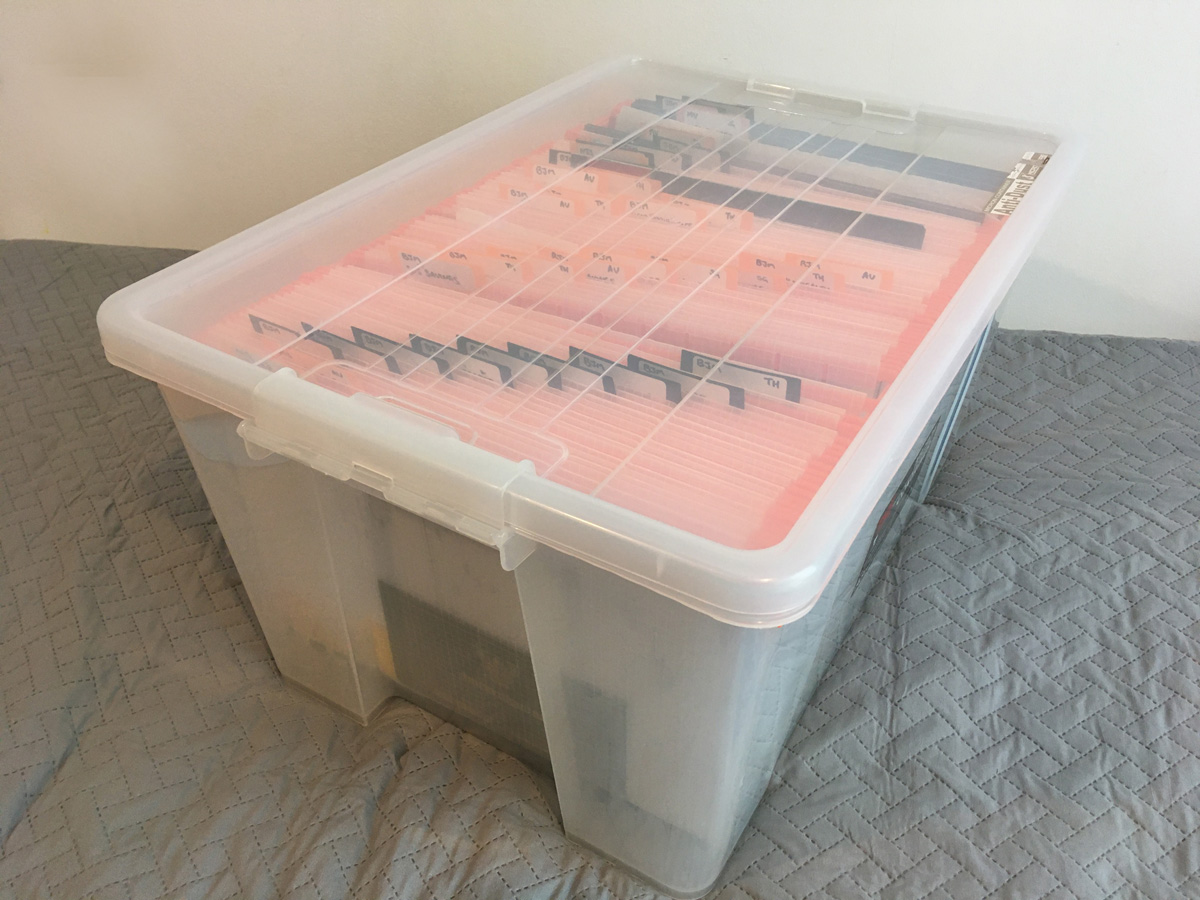
The container I have is a 40 litre “Micron” brand - it is the absolute perfect size for the Ikea Summera drop files. I recently found exactly the same container at HomePro under the “Stacko” brand for 299 baht.
Rails
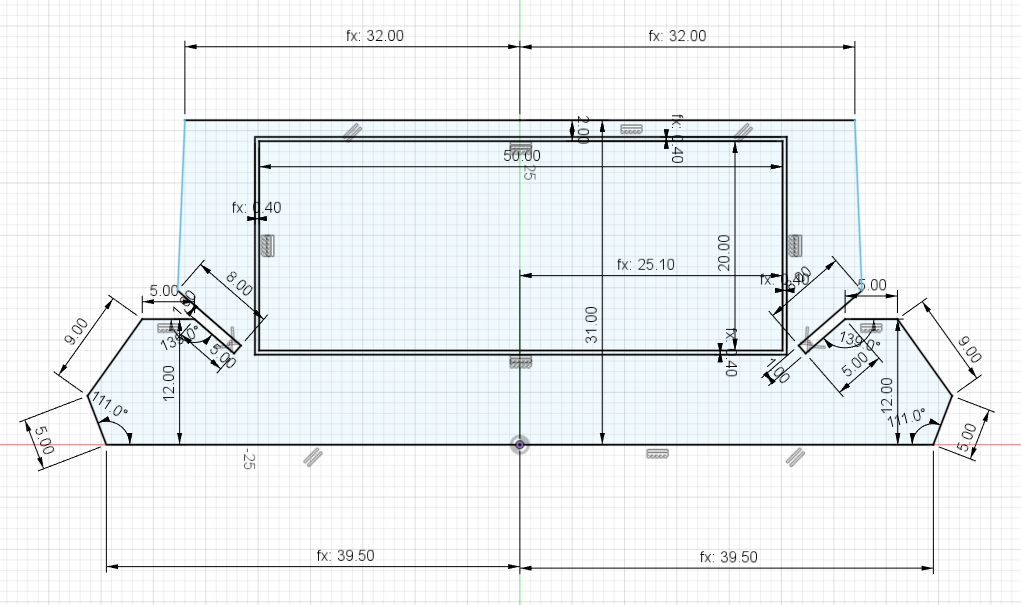
After a few iterations of measuring, eyeballing and trial-and-error test prints I came up with this profile for the rails:
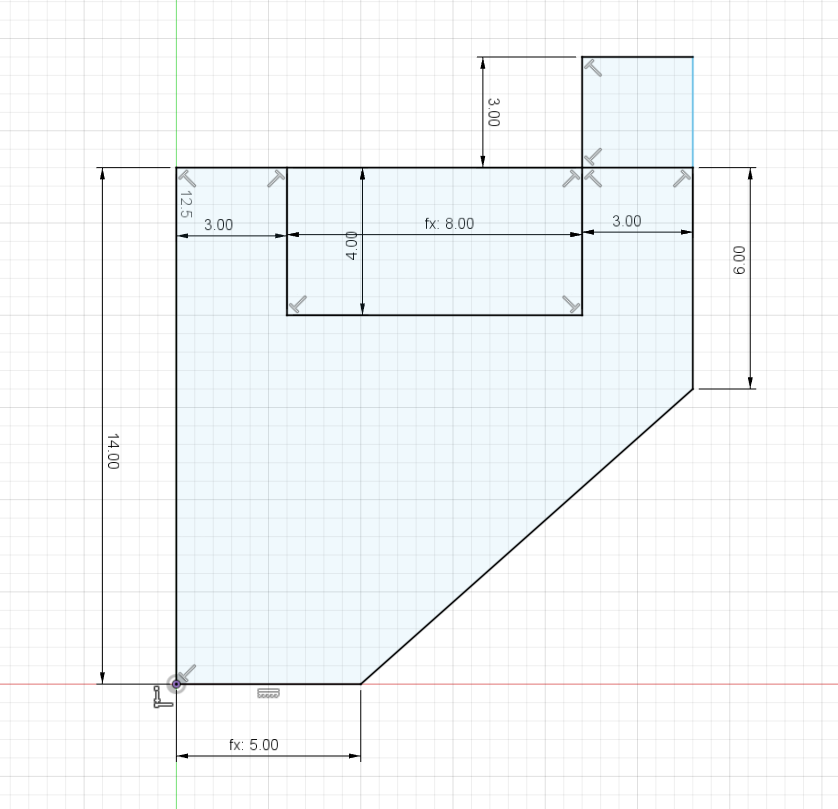
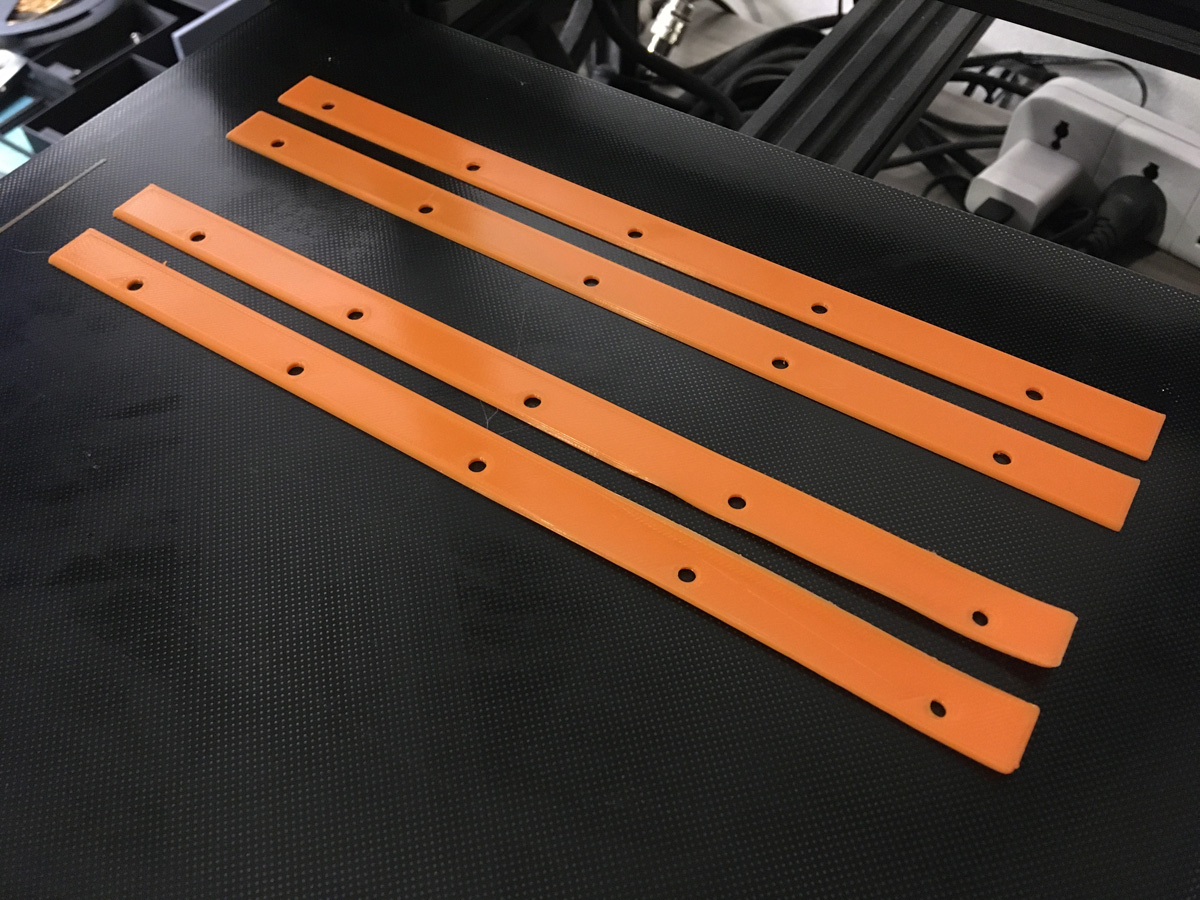
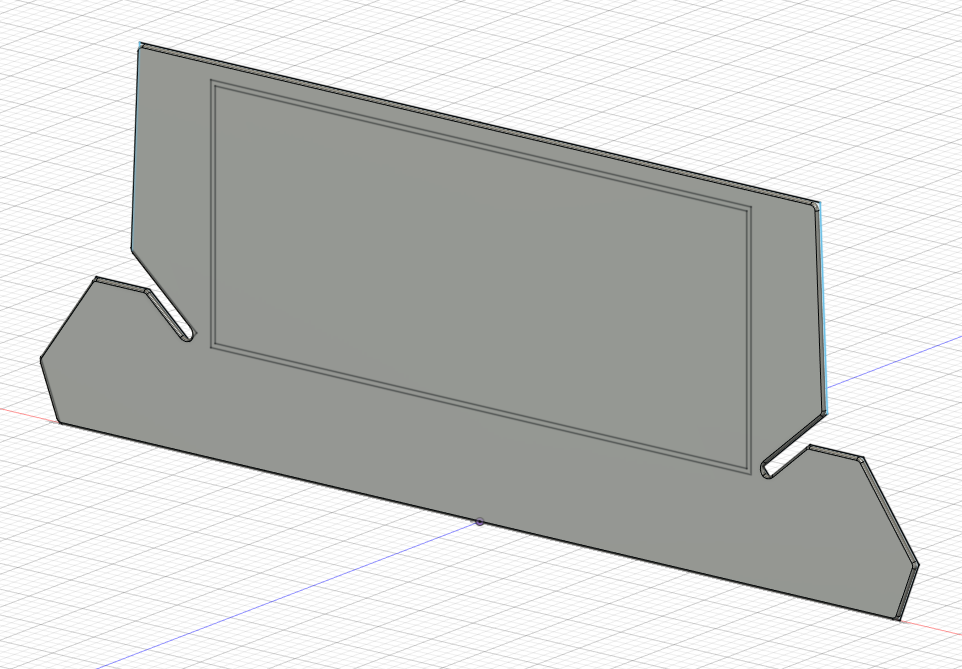
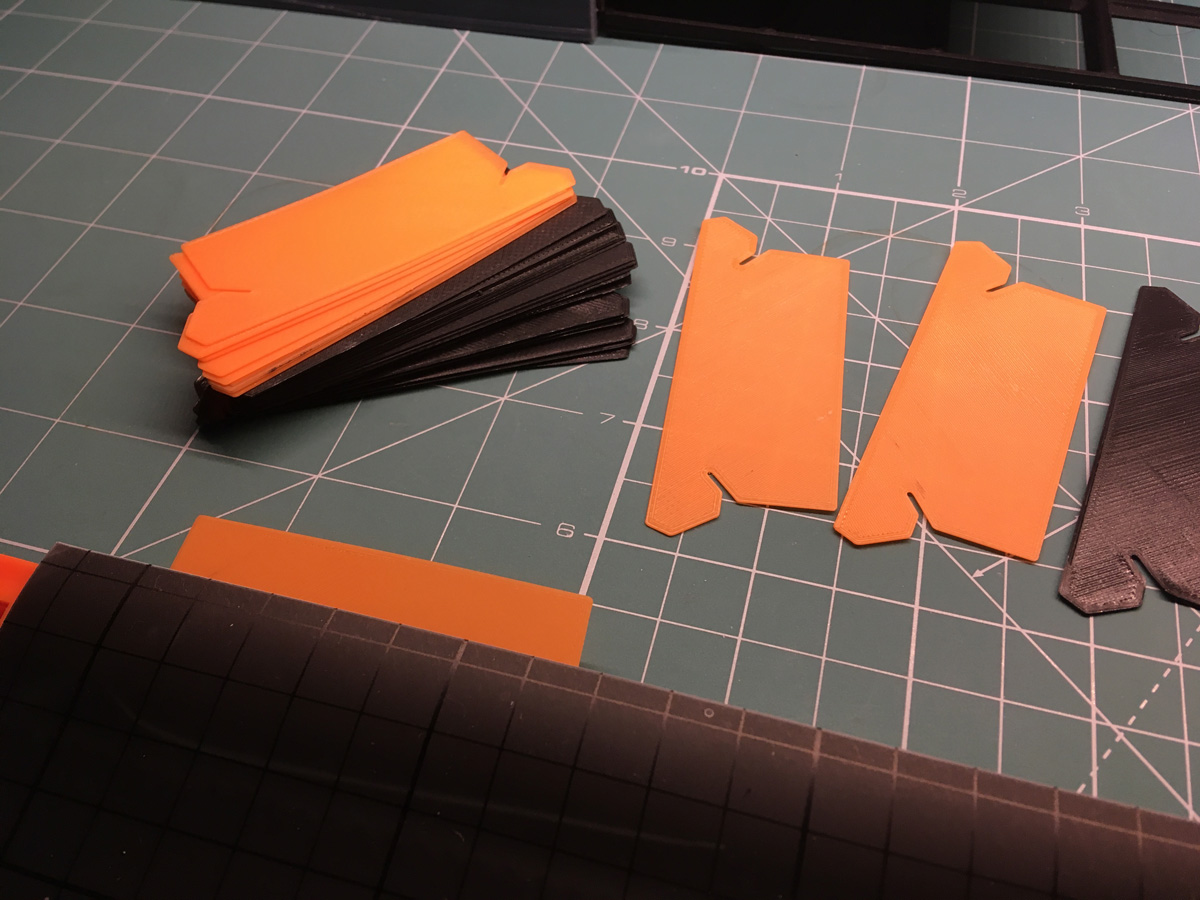
I extruded the rails out with end-stops, and cut holes for M4 bolts and captive sockets for the hex nuts:
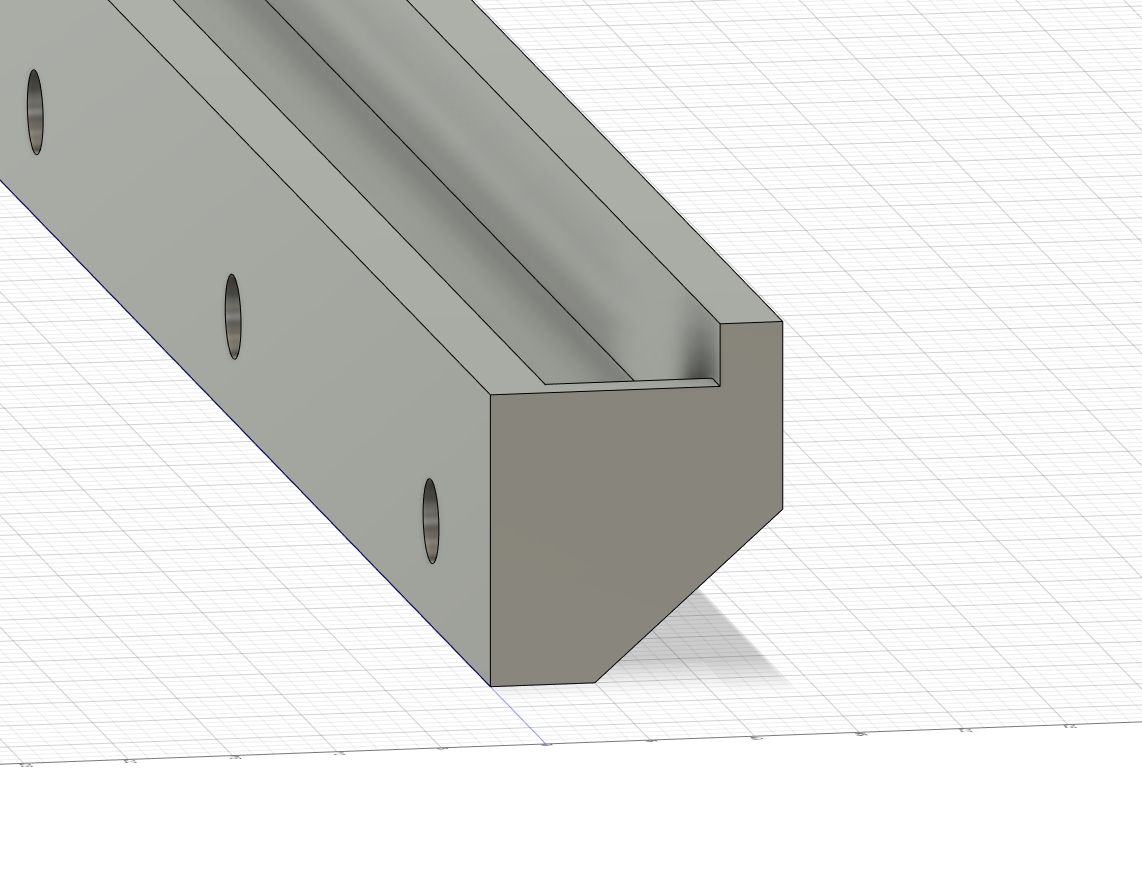
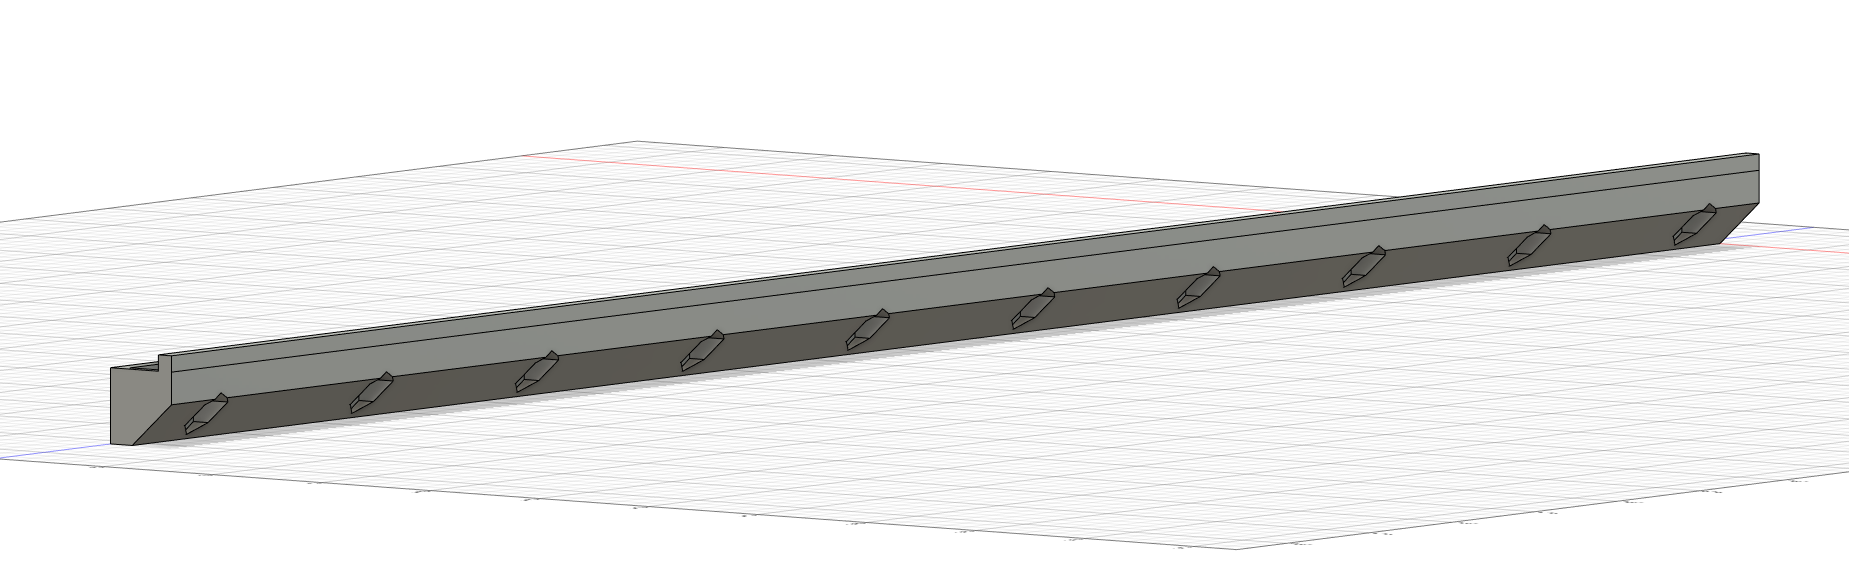
Given the length, I split the rail body in two to fit on my 300mm square CR10S printer bed. I printed them with brims for adhesion and tree supports for the minimal amount of support that was required in the overhangs of the hex nut sockets - the print quality was gorgeous:
I decided to print face plates to go on the outside, rather than having the heads of the bolts directly against the outside of the crate, both for some additional robustness as well as for aesthetics. Unfortunately I elected not to use brims this time and two of the parts warped but I didn’t reprint them as I didn’t want to wait.
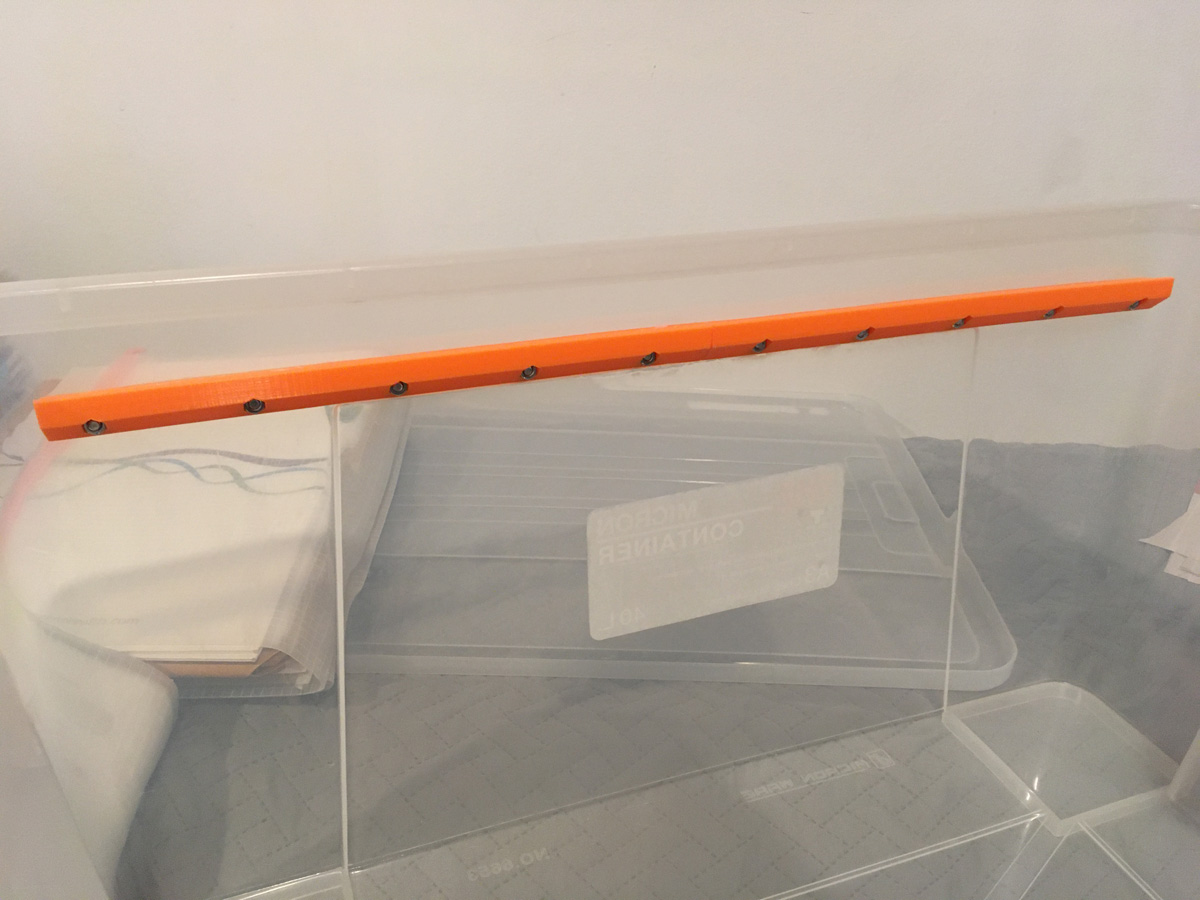
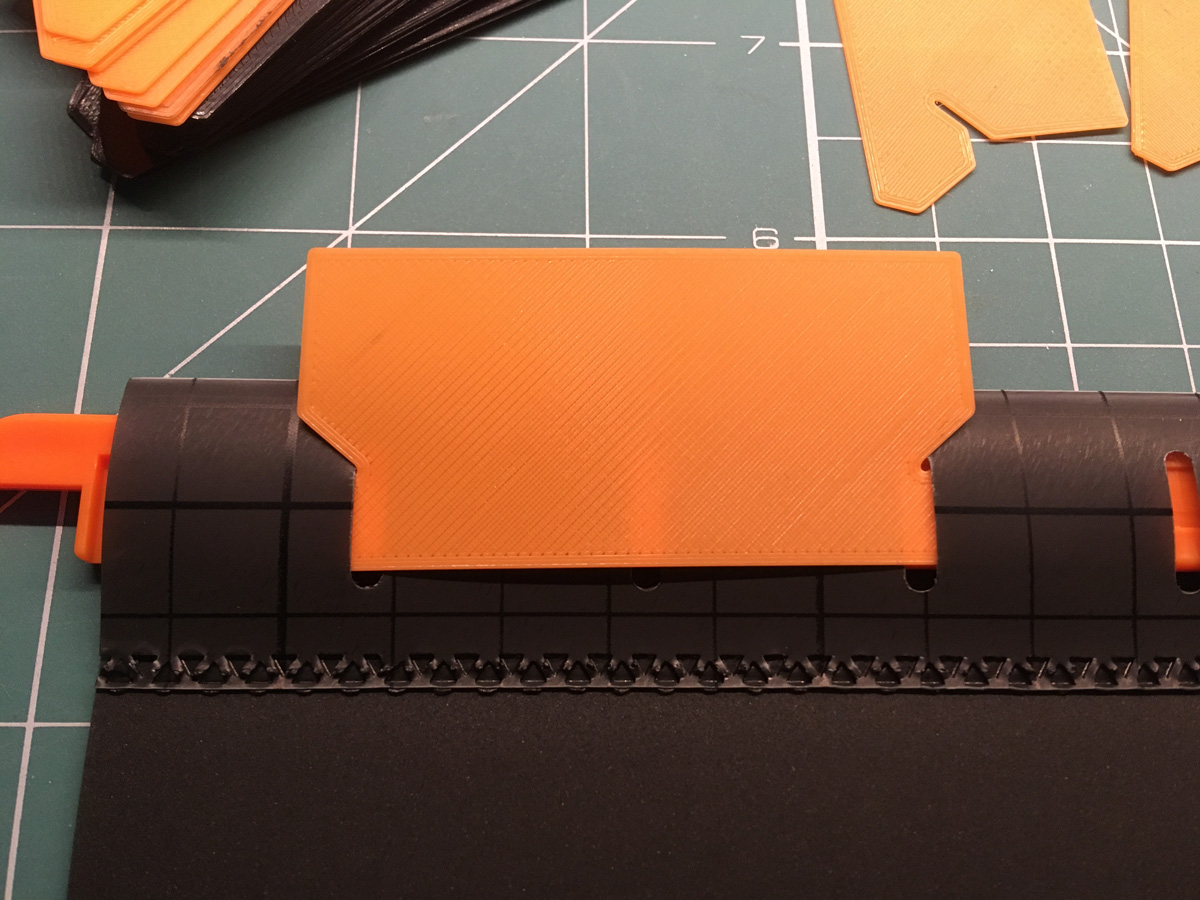
Initially I thought glue would also be a good idea, and I did actually use superglue but it barely adhered - ultimately bolts alone would have been more than enough. In fact half as many bolts would have been enough. Here’s the first rail installed:
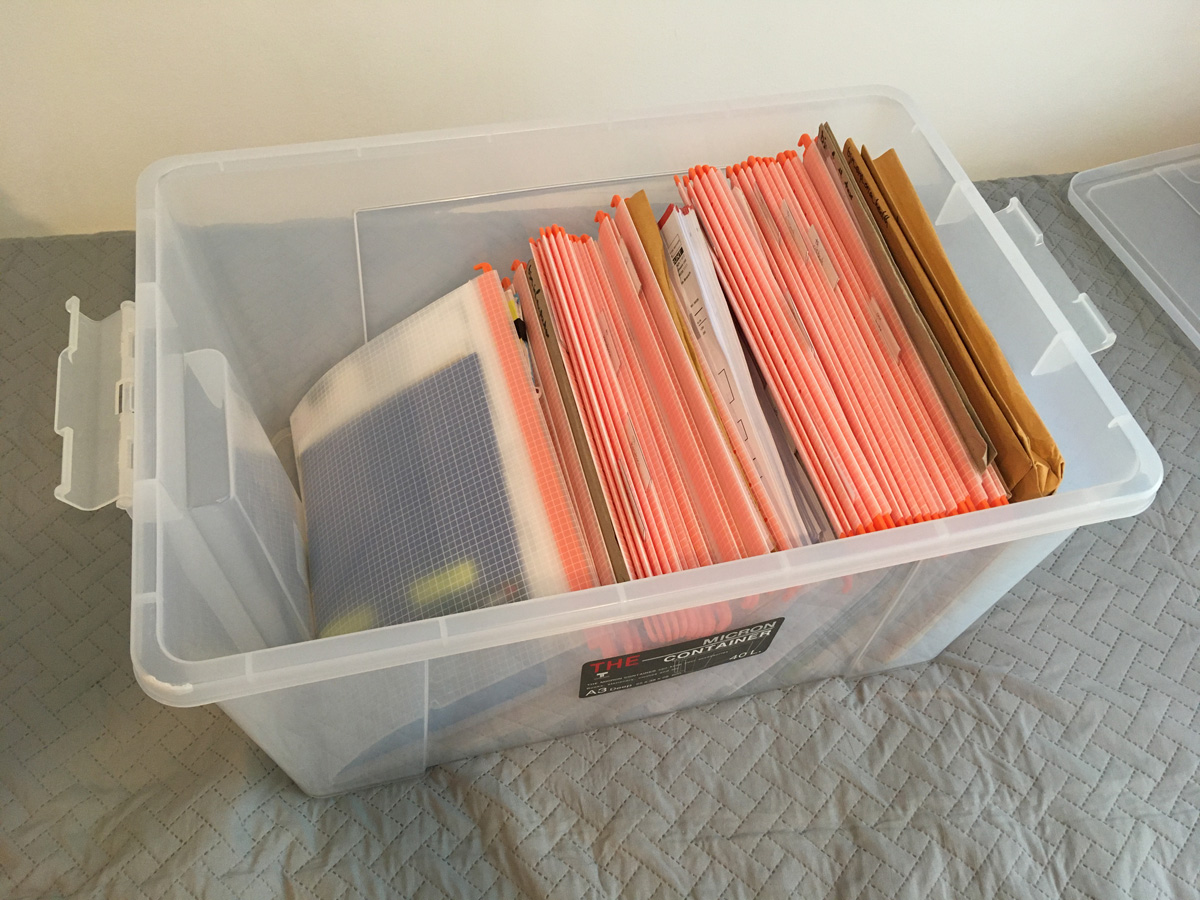
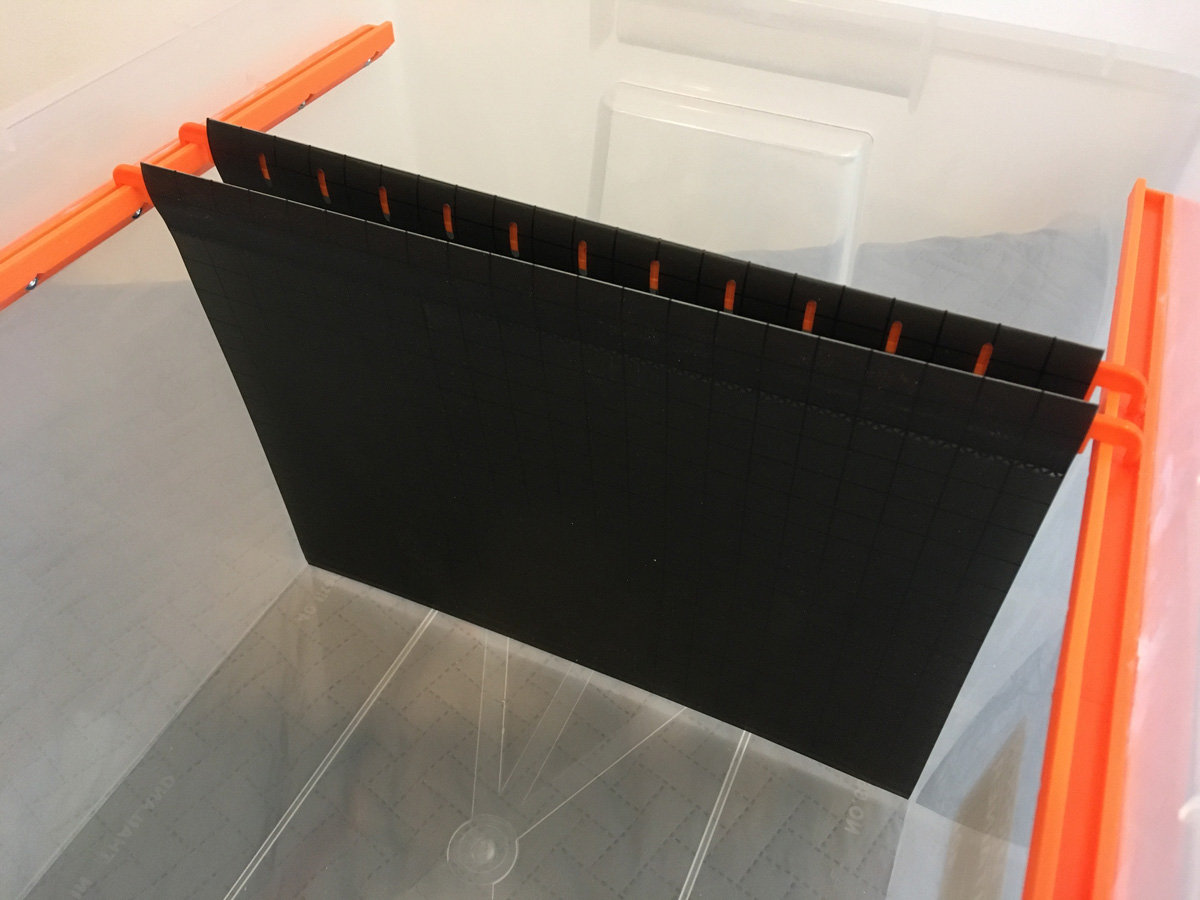
Here’s the empty container now with both rails installed:

Test file deployment:
Label Tabs
The Ikea files come with plastic labels that clasp a little perforated tear-off card, but somehow I ran out a while ago - more 3D printing to the rescue.
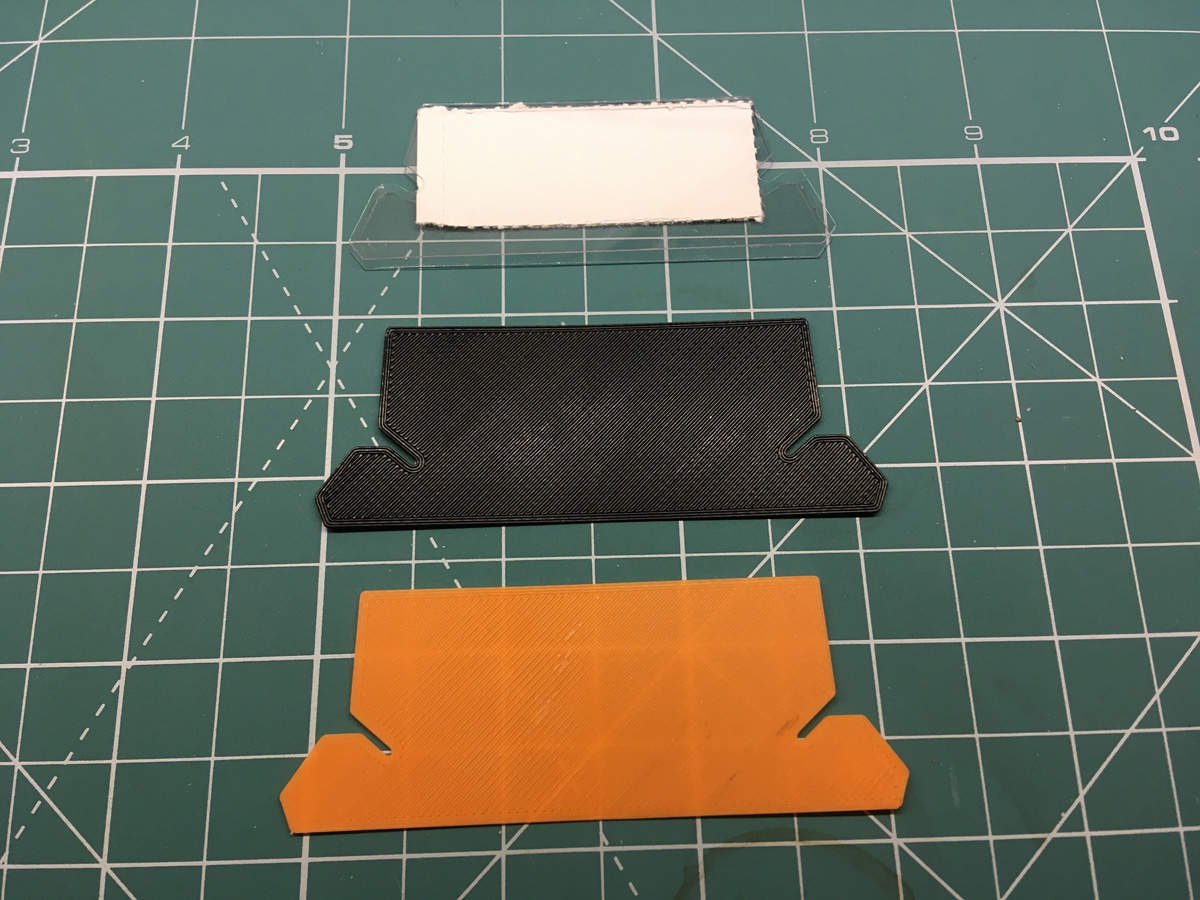
I took some measurements and recreated the tab shape in Fusion360:
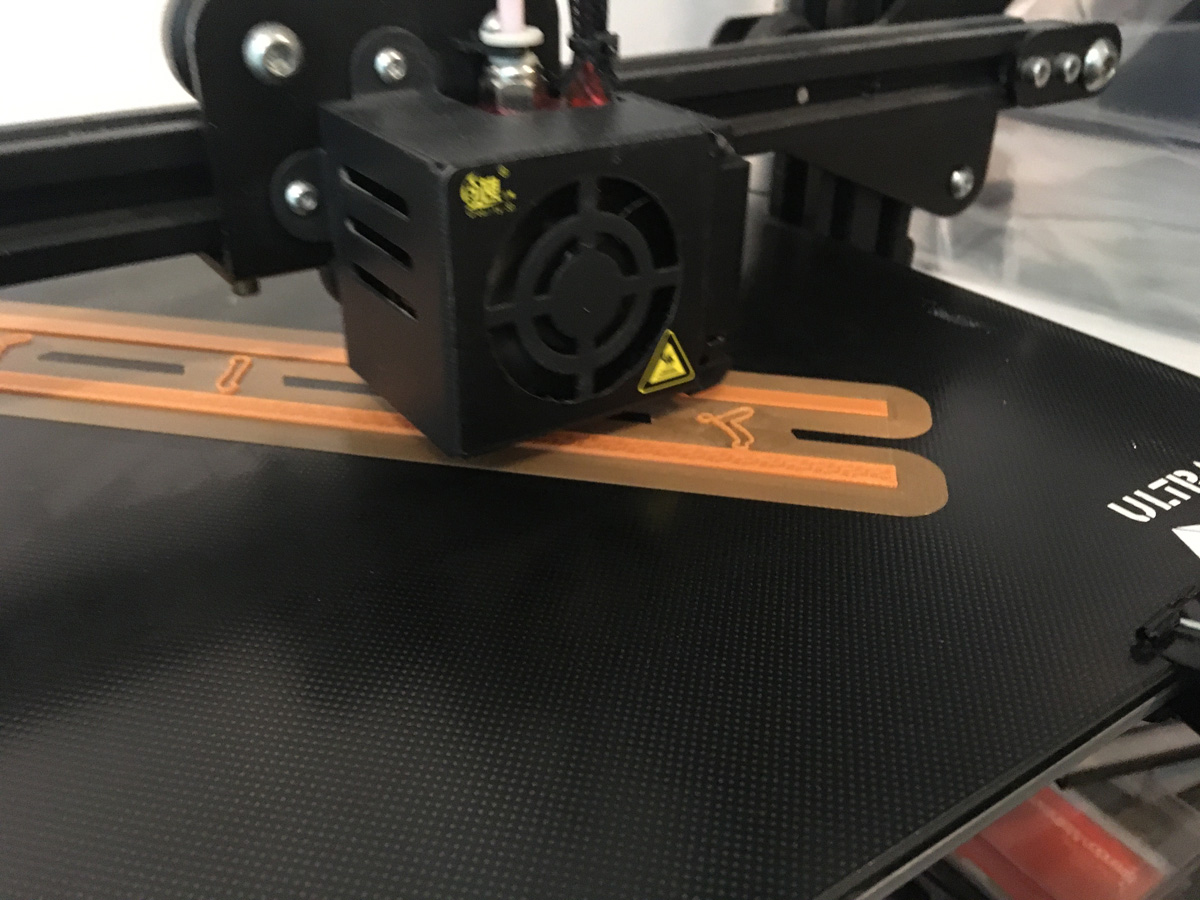
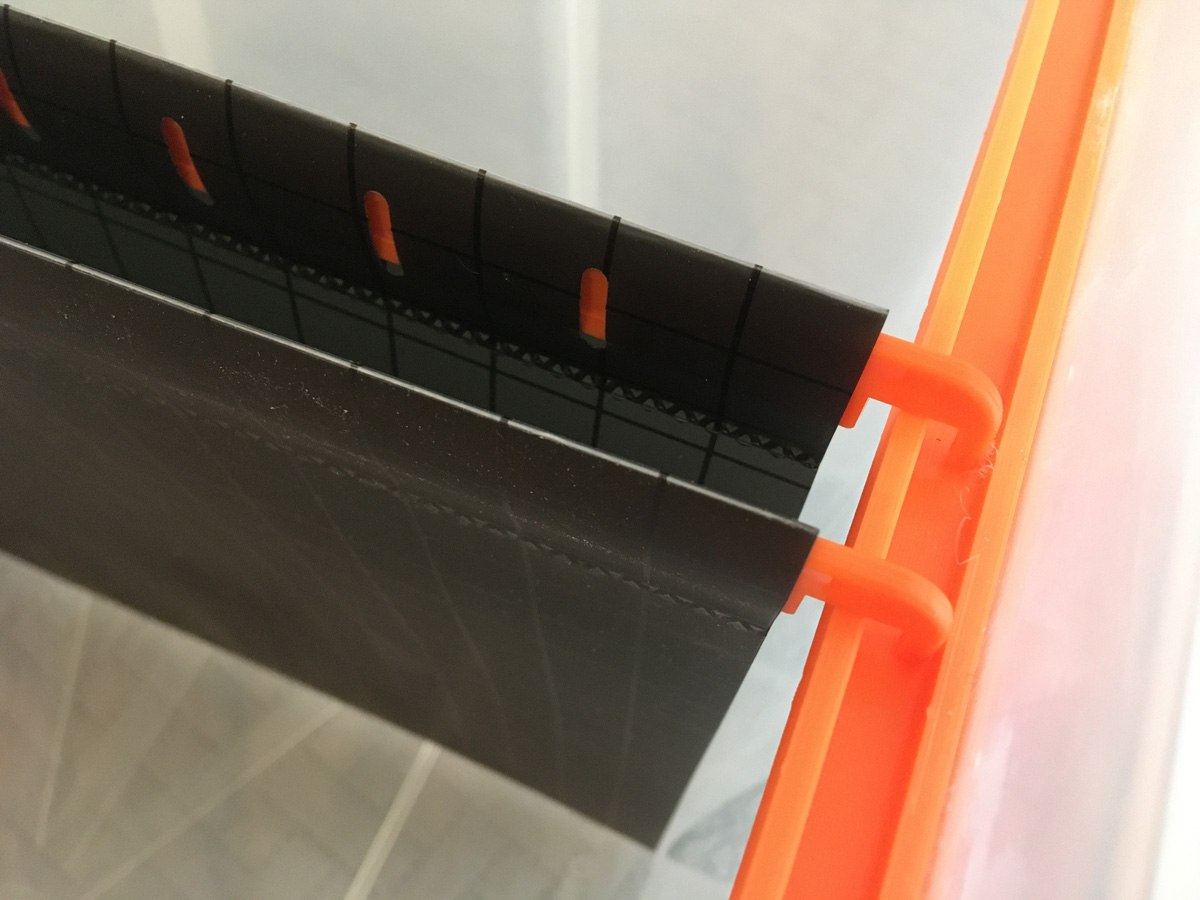
Then printed a bunch of orange and black tabs. I made these only 0.6mm thick so they’re quite flexible meaning they’re easy to slip into the slots on the drop files:
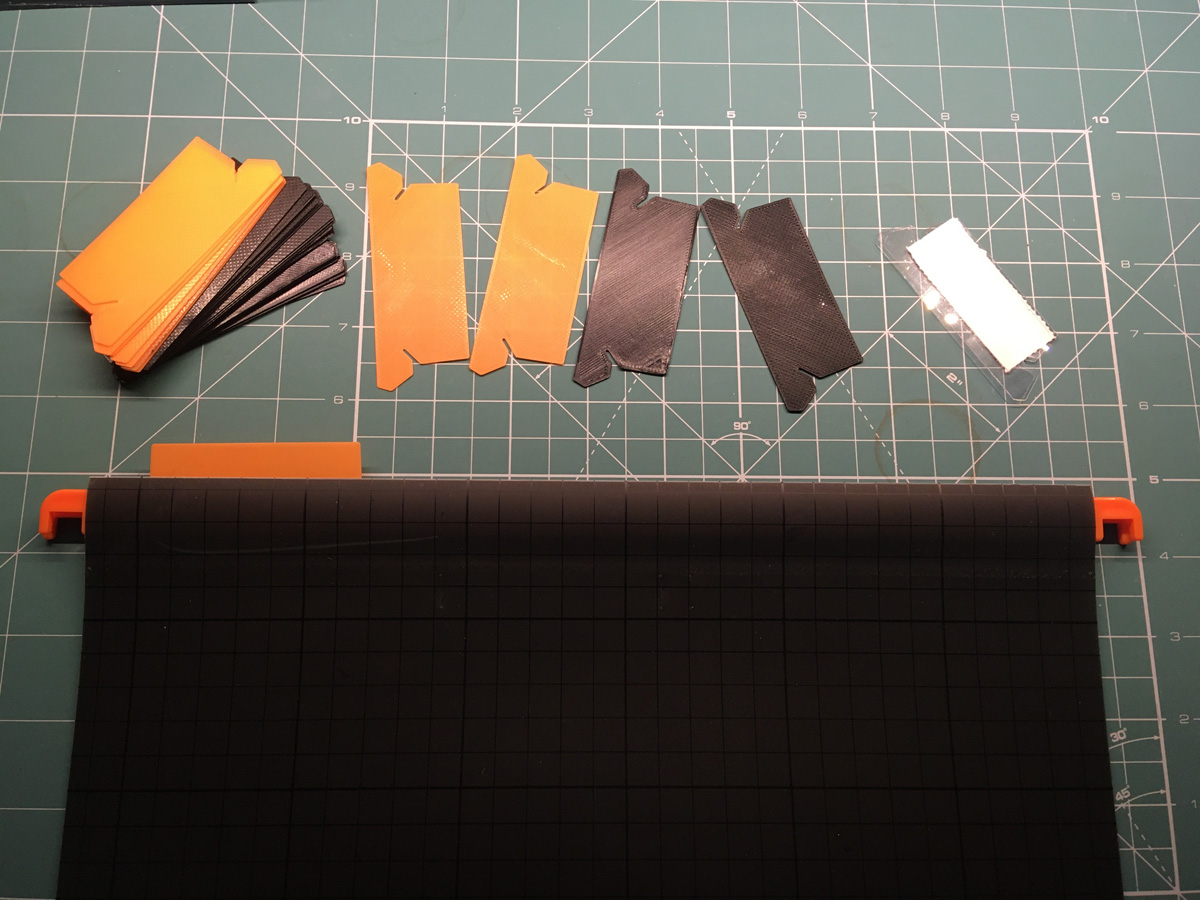
This roll of 1,100 50mm by 20mm self-adhesive labels was 185 baht on AliExpress:

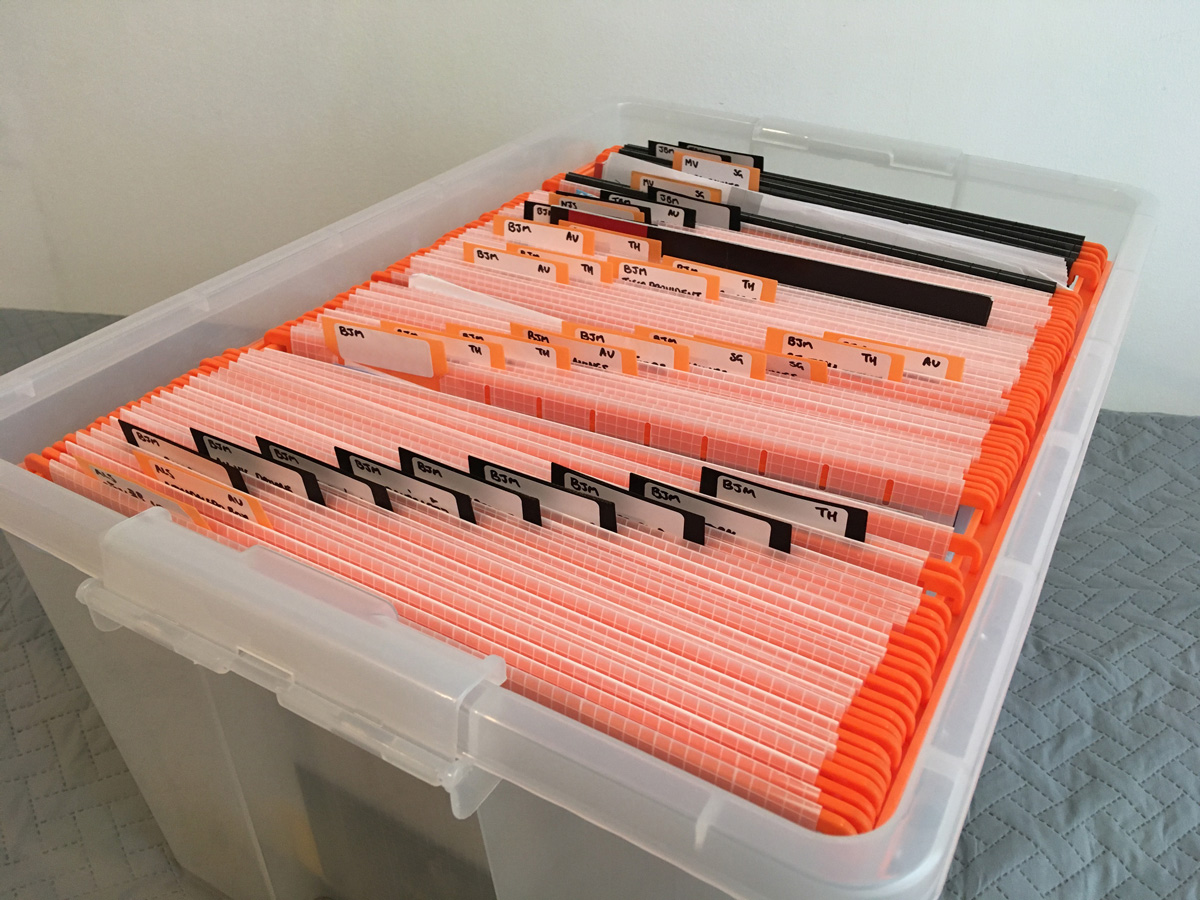
Finished Product
With the rails installed and the files tidied up and labelled, my file access problems are a distant memory and the final result looks great!
Improvements I’d consider if I was doing this project again would be:
- Reduce the number of bolts - it’s currently way overbuilt in terms of load capacity
- Skip the glue - bolts are enough
- Revise the faceplate design to incorporate a cover to hide the bolts for improved aesthetics
- Always use brims when printing long flat thin delicate parts!
- Get a label printer to raise the bar on label quality - I may yet get a label printer and redo all the labels.